Two supplies, one small box between them
Electric rooflight wiring comes down to one mains feed into a control unit, and a low-voltage feed out of it to the motor, the sensor and the switch. Get the position of that box and the route of each cable right before anything is plastered, and the rest is straightforward.
An electric skylight on a flat roof is, electrically, a modest load. The control unit takes 230V from the house supply, drops it to a safe low voltage (24V DC is the common figure on flat rooflights), and sends that to the actuator that pushes the glass open. The same unit reads the rain sensor on the roof and the wall switch or remote in the room. Everything past the control unit is extra-low voltage, which changes how the cable can be run and who can handle it. Everything before it is mains wiring, which falls under Part P of the Building Regulations and the wiring rules in BS 7671.
That split is the thing to hold on to when you plan the job. The mains side is short: a supply from an existing circuit to a fused connection unit, and a flex or cable from there to the control unit. The low-voltage side can be longer and fiddlier, because it has to reach the motor at the top of the upstand, pass through the roof build-up without breaking the weatherproofing, and come back down to a switch position that makes sense in the room. If you want the mechanics of what each component does once it is powered, the guide on how electric rooflights work covers the actuator, the controller and the order of operation. This page stays with the cables: where they go, how they are protected, and who connects what.
Some pitched roof windows arrange this differently, with the motor and controller built into the window head and a single mains lead coming off the frame. Solar units skip the house supply altogether. The questions about route and access still apply, only the number of cables changes. For the difference between low-voltage and mains systems in plain terms, see are electric rooflights 24V or 230V.
Deciding the route while the roof is still open
The cheapest, neatest wiring is the wiring that goes in at first fix, when the joists are bare and the ceiling is not yet boarded. On a new rear extension or a loft conversion, that is the moment to agree where the control unit, the spur and the switch will sit.
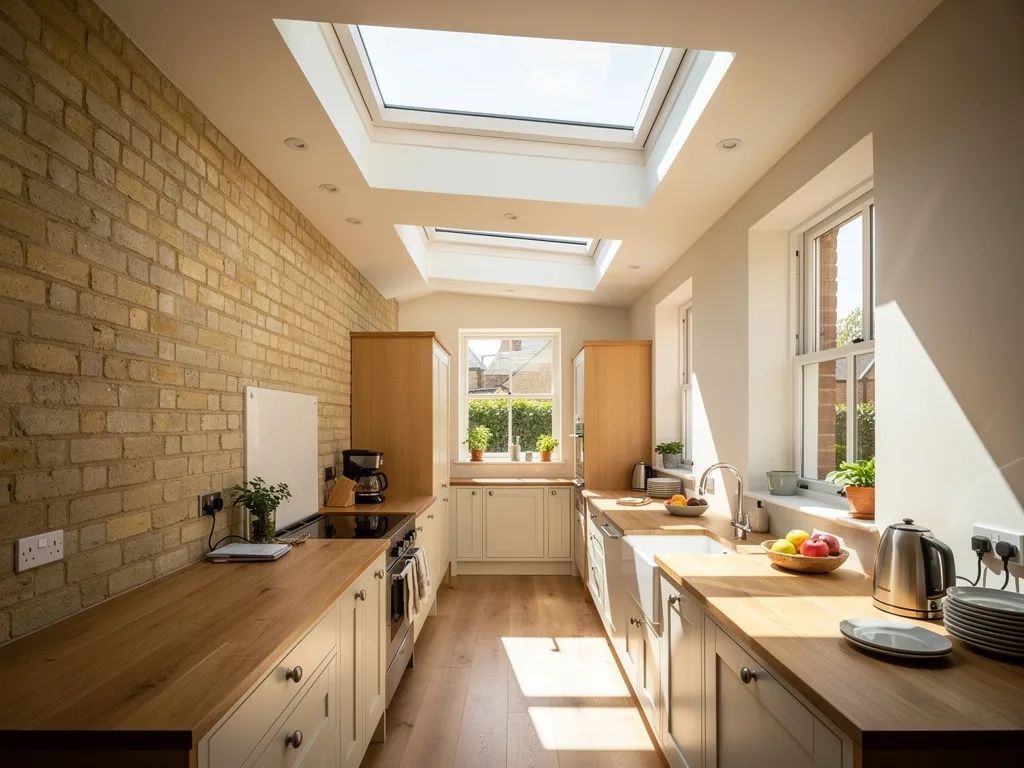
On a single-storey kitchen extension behind a Romsey or Mill Road terrace, the rooflight tends to sit between two joists near the far end of the room, over the table or the island. The control unit wants to be somewhere you can reach again later without cutting plaster: inside a kitchen wall unit, in a ceiling void above an access panel, or within the plastered reveal of the rooflight kerb where the manufacturer allows it. Burying it behind a skim coat is the one choice that causes trouble years later, because the unit is the part you may one day want to reset, update or replace.
At first fix the electrician runs the mains feed to the chosen spur position, and we run or mark the low-voltage cable from the control unit position up to the kerb. Each cable is clipped to the side of a joist or passed through holes drilled on the neutral axis, the middle of the joist depth, well back from the bearings. Notches in the top edge of a joist near midspan weaken it, so the route follows the structure rather than the shortest line.
A few decisions are worth writing down at this stage, because they are hard to change once the ceiling is up:
- where the control unit will live, and how you will get to it again
- which circuit the fused spur will come from, and whether that circuit has spare capacity and RCD protection
- where the wall switch or keypad goes, if there is one, and whether a remote replaces it
- whether an electric blind will share the same controller or need its own low-voltage run
- whether you might add smart control later, so a spare core or a data cable can go in now
We put these on the written light plan alongside the position, size and glass of the rooflight, so the electrician, the plasterer and the fitting team are all working to the same drawing.
Getting the cable through a flat roof without weakening it
The motor sits on the rooflight frame, above the finished roof. Its cable therefore has to cross the upstand and the roof build-up, and that crossing point is where careless wiring can undo good roofing.
- Joists, with doubled trimmers either side of the opening to carry the loads of the cut joists around it.
- Deck (usually 18mm ply or OSB) with a vapour control layer laid on it.
- Insulation boards above the deck (a warm roof), often tapered to give the roof its falls.
- Waterproof membrane dressed up the upstand and over its top, so the joint is lapped, not sealed.
- Upstand, or kerb: insulated timber, finishing at least 150mm above the finished roof surface to keep standing water and splash off the joint.
- Rooflight unit fixed over the kerb, its frame skirt shedding water outside the membrane turn-up.
- Plastered reveal lining the opening from the ceiling up to the frame, finished white to bounce the light down.
- Roof falls to an outlet: designed at about 1:40 so the finished roof never falls less than 1:80.
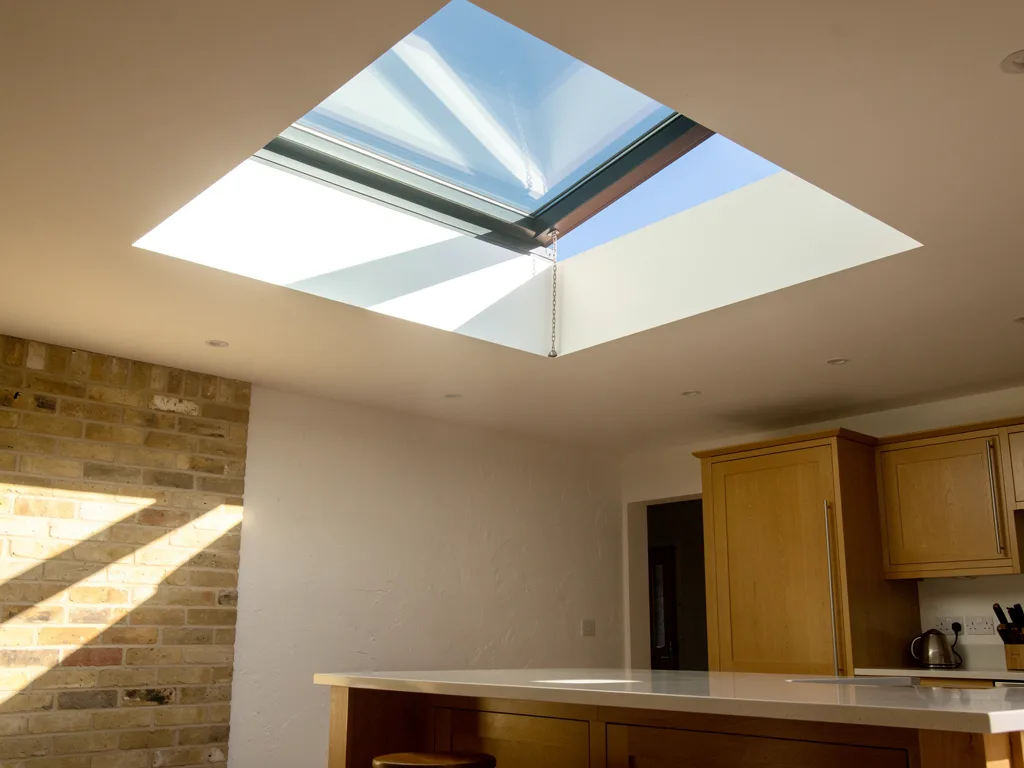
A typical warm flat roof, the kind built on modern rear extensions, has a deck, a vapour control layer, rigid insulation and then the waterproof membrane, with a timber or insulated kerb standing at least 150mm above the finished surface. The rooflight frame sits on top of that kerb. The cable from the actuator is designed to drop down inside the frame and pass through the kerb into the ceiling void below, staying inside the building envelope the whole way. It should never be run over the membrane and pushed through a hole in the roof covering.
Two details matter as it passes through. First, the vapour control layer. Where the cable pierces it, the hole needs sealing with a proper grommet or tape so warm, moist room air cannot get into the insulation and condense against the cold deck. Second, the insulation itself. A cable surrounded by rigid board or mineral wool cannot shed heat, and BS 7671 reduces what it can safely carry. On the low-voltage side the currents are small, but the actuator lead still needs to be sized to the manufacturer's figure for its run length, because voltage drops along a thin cable and a motor that is short of voltage runs slowly or stalls under load.
The rain sensor has its own lead, and that one does go outside. It is mounted on the frame or the kerb where rain reaches it first, and its cable enters the frame through a gland or a pre-formed entry the manufacturer provides. A sensor fitted on the wrong side of a parapet, or in the drip line from a higher wall, gives false readings, so its position is part of the plan as much as its wiring. The guide on rain and wind sensors explains placement and sensitivity in more depth.
Wiring into an older room that is already finished
Retrofitting an electric rooflight into a finished room, such as swapping a fixed unit over a side-return kitchen for an opening one, means finding a route for two cables without taking the ceiling down. It is almost always possible, and the choices are about tidiness and protection.
In a Victorian terrace the rear extension roof is frequently a shallow timber flat roof over a lath and plaster or old plasterboard ceiling. When the existing unit comes out, the opening in the roof gives direct access to the ceiling void around it. From there a cable can be fed along between joists to an access point, perhaps a light fitting position or a spot where a small hatch can go in, and then down to the spur. Feeding along the joist run is easy; crossing joists without lifting boards or cutting the ceiling is the difficult part, so the spur position is chosen to suit the joist direction where possible.
Getting the mains feed down a wall to a fused spur at worktop height means chasing a groove in the brick, fixing the cable in it and plastering over. In a gault brick wall that is ordinary work, but the cable must stay within the zones the wiring regulations treat as safe: vertically or horizontally in line with an accessory, or within 150mm of the top of the wall or a corner. A cable concealed less than 50mm deep in a wall, outside earthed metal conduit, also needs 30mA RCD protection. Where the circuit has no RCD, that is a reason to add protection or to feed from a different circuit, and it is something the electrician will check before any chasing starts.
Where chasing would disturb a finish you want to keep, such as original cornice, tiling or a decorated wall, surface trunking or a slim conduit painted to match is the alternative. It is visible, but in the corner of a kitchen it can be discreet. Wireless switches and remotes remove the need for a switch cable altogether, which in a finished room can be the deciding factor.
If you are weighing whether an existing fixed rooflight can take an opening unit at all, the answer page on changing a fixed rooflight to an opening one covers the upstand and structure side, which comes before the wiring question.
The fused spur and where the control unit sits
The mains connection for an electric rooflight is normally a switched fused connection unit, the square faceplate with a small cartridge fuse, taken as a spur from an existing ring or radial circuit. It gives the control unit a fuse sized to its load and a switch that isolates it.
The fuse rating comes from the manufacturer's installation instructions, not from habit. A control unit for a single electric rooflight draws very little, and a low-rated fuse, commonly 3A, protects the flex and the controller properly where a 13A fuse would not. Where the controller also drives an electric blind, or two rooflights share one supply, the instructions give the combined figure. The spur should be switched and clearly labelled, so anyone working on the rooflight later can isolate it without guessing which breaker to turn off.
Placement of the spur follows two practical tests. It should be reachable without a ladder, so that isolating the rooflight is easy, and it should be close enough to the control unit to keep the mains flex short. In a kitchen that tends to mean a position above the worktop at the end of a run of units, or inside a tall cupboard where the control unit also lives. In a loft room, a spur low on the knee wall near the hatch to the eaves storage works well, with the control unit just inside the hatch.
The control unit itself should be fixed, not left loose in a void. It needs air around it, because transformers and electronics run warm, and it should be clear of insulation for the same reason. Keep it away from the steam above a hob and well away from the shower in a bathroom. If a bathroom rooflight is involved, the zones around the bath or shower bring their own rules for the switch and spur positions, and work in those zones is notifiable.
| Part | Voltage | Where it goes |
|---|---|---|
| Fused spur | 230V | Reachable wall position |
| Control unit | 230V in, low out | Accessible cupboard or void |
| Actuator lead | Low voltage | Through kerb to frame |
| Rain sensor lead | Low voltage | Outside, on frame or kerb |
| Switch or keypad | Low voltage | Where you watch the light |
Switches, remotes and where you stand to use them
The switch is the part of the wiring you will touch every day, so its position deserves the same thought as the rooflight's. Put it where you naturally stand when you notice the room is warm or the air is stale, not simply wherever a cable was easiest to drop.
From the control unit, a thin low-voltage control cable runs to a wall switch or keypad. Because it is extra-low voltage, it is lighter to route than mains cable, though it should still be kept apart from mains cables unless both are insulated for the higher voltage. Switches on new work are normally placed between 450mm and 1200mm above the floor so they are within easy reach, which in practice means beside the door, next to the light switches, or at the end of the worktop.
The light in the room is a good guide to the right spot. In a south-facing kitchen extension, the moment to open the rooflight is the moment the afternoon sun patch reaches the table and the room starts to warm. A switch you can reach from the table or the hob will get used; one by the back door, out of sight of the glass, tends to be forgotten until the room is already hot. On a north-facing loft slope the rooflight is more about fresh air than heat, so a switch by the bed or the desk makes more sense than one by the stairs.
Handheld remotes and wall-mounted wireless keypads avoid the switch cable altogether. They pair with the control unit by radio, and many systems accept several remotes, so you can keep one by the sofa and one in the kitchen. If you plan to link the rooflight to an app, a thermostat or a voice assistant, check at this stage whether the controller needs a hub nearby or a wired connection; the guide to smart home control for rooflights goes through those options. Where an electric blind is planned, it is worth deciding now whether it runs from the same keypad, which the guide on electric blinds for opening rooflights covers in detail.
Who does the electrical work, and the paperwork that follows
The mains side of electric rooflight wiring is electrical installation work under Part P of the Building Regulations, and it should be carried out by a qualified electrician. We arrange the electrician as part of the installation, so you have one point of contact and one programme.
Part P separates notifiable electrical work from minor work. A new circuit from the consumer unit is notifiable. So is work in a bathroom within the zones around a bath or shower, and replacing a consumer unit. Adding a fused spur to an existing circuit in a dry room such as a kitchen or loft bedroom is not normally notifiable, although it must still be done to BS 7671. The government guidance on Building Regulations approval sets out the general position, and your electrician will confirm which category the job falls into once the circuit has been inspected.
Where the work is notifiable, an electrician who belongs to a competent person scheme can self-certify it and notify Building Control on your behalf. Whatever the category, you should receive a certificate for the electrical work: an Electrical Installation Certificate for a new circuit, or a Minor Electrical Installation Works Certificate for a spur added to an existing one. Keep it with the rest of the paperwork for the house, because a buyer's surveyor or solicitor may ask for it.
The rooflight itself is a separate Building Regulations matter. A new rooflight in a roof is normally notifiable under the parts dealing with structure and thermal performance, and we handle the Building Control notification where the work is notifiable. The electrical certificate and the rooflight's completion paperwork are two documents, and you should expect both.
| Task | Who | Notifiable? |
|---|---|---|
| Spur from existing circuit | Electrician | Not normally |
| New circuit | Electrician | Yes |
| Bathroom zone work | Electrician | Yes |
| Low-voltage runs, sensor | Fitting team | No |
The low-voltage side, from the control unit to the motor, the sensor and the switch, is connected following the manufacturer's instructions as part of fitting the rooflight. The answer page does an electric rooflight need an electrician gives a shorter version of this split.
Testing, handover and what to keep
Before the ceiling is closed and the room decorated, the wiring is tested end to end. The electrician tests the mains connection, and we run the rooflight through its full cycle from every control point, including the rain sensor.
The checks are simple but worth watching. The glass should open to its full stroke and close onto its seals firmly from the wall switch and from each remote. A few drops of water on the rain sensor should start the closing cycle straight away. Switching off the fused spur should stop the unit, and switching it back on should leave it in a known state rather than moving on its own. If the system has a battery backup, it should close the glass with the spur switched off, which is also the simplest way to see what the house will do in a power cut; the answer page on what happens in a power cut explains the options.
At handover you should come away with the electrical certificate, the manufacturer's manual for the rooflight and its controls, and a note of where the control unit and the spur are. That last point sounds minor, but a control unit tucked into a ceiling void is easy to forget, and the next person to work on the room will thank you for it. If you have chosen a controller that can be updated or paired with more devices later, keep the pairing instructions too.
For the wider picture, from choosing an opening type to fitting day, see our electric and opening rooflight installation hub. When you are ready to plan the light and the wiring together, book a light survey and we will mark the rooflight position, the control unit, the spur and the switch on the written light plan before the roof is opened.
Questions people ask
Can an electric rooflight plug into a normal socket?
Some control units are supplied with a plug, but a fixed, fused spur is the better connection for a permanent rooflight. It keeps the supply safe from anyone unplugging it to use the socket, gives the controller a fuse matched to its load, and avoids a trailing lead up the wall.
How far can the switch be from the rooflight?
Low-voltage switch cable can run some distance, but each manufacturer gives a maximum length and a minimum cable size. For longer runs, or where a cable is awkward to route, a wireless keypad or remote is the simpler answer.
Is solar power a way to avoid the wiring altogether?
Yes, for some roof windows and flat rooflights. A solar panel on the frame charges a battery that drives the motor, so no mains supply is needed. It suits rooms where cabling would be disruptive, as the guide to solar powered roof windows explains, with some trade-offs in winter.