Before anyone climbs the roof
The VELUX window installation process starts indoors, with a tape measure and a look at where the sun falls, because the position of the opening is fixed the moment the first rafter is cut.
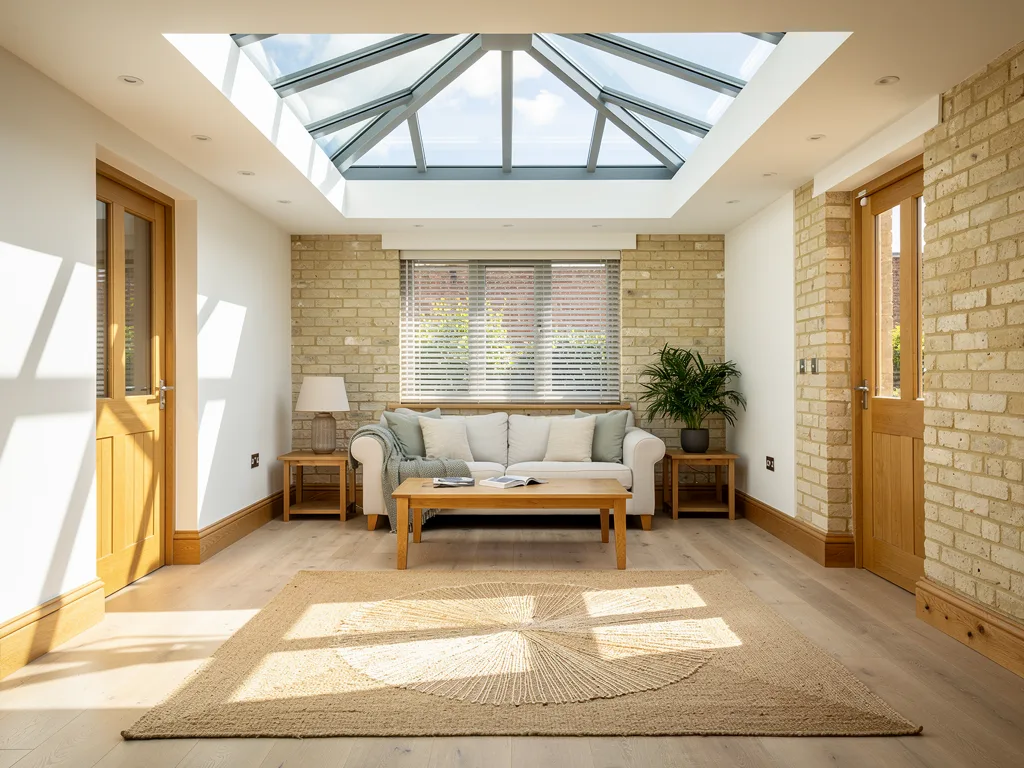
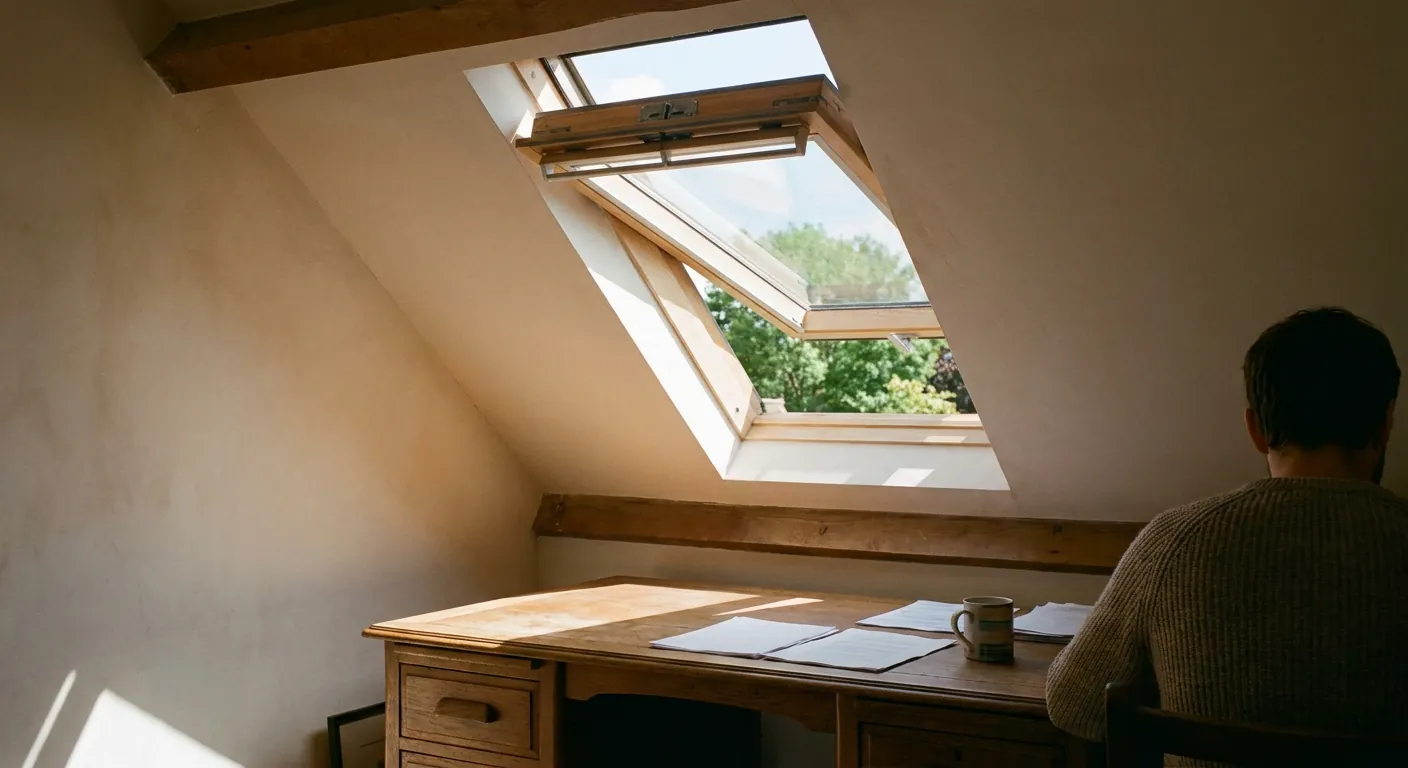
A roof window is a hole in a structure that has stood unaltered for decades, sometimes more than a century in a Romsey or Petersfield terrace. Once the felt is slit and the battens are cut, moving the window even 300mm up or down the slope means more cutting, more tiling and a second set of trimmers. So the order of work begins with the room. At the survey we stand where the desk, bed or bath will go, check which way the slope faces, and mark where the light patch will land at different times of day and year. On a south slope that usually argues for a window a little higher, so the summer sun lands on the floor away from the bed; on a north slope it can go lower and larger, because the light it gives is steady and soft rather than hot.
From inside we also measure the rafter spacing, the depth of the rafters and the height of the finished ceiling, because those three numbers decide the size code. VELUX sizes are written as a letter and two digits, such as CK04 or MK08, and each one is built around common rafter centres. Reading those codes, and matching them to an old data plate on a replacement, has its own page on VELUX window sizes and codes. The brief here is simpler: choose the size that fits the light plan first, then check what it means for the rafters.
The written quote carries a short light plan that sets out the position, size, glass and blinds, with a reason for each. That paper is what the fitters work from on the day. Nobody decides the position on the roof with a pencil and a guess.
Access, protection and the weather window
Setting up takes the first hour of the job, and it is the part homeowners notice least and value most once the dust is gone.
Inside, the floor below the window is sheeted, furniture is moved or covered, and a dust screen goes up if the loft room is already finished and decorated. Plaster dust from cutting a lining travels further than people expect, so doors to the rest of the house are closed and the route from the front door to the loft is protected too.
Outside, the access depends on the house. A single-storey rear extension or a lean-to in a Chesterton back garden can often be reached from a well-footed ladder with a roof ladder hooked over the ridge. A two-storey Victorian rear slope, or the front of a 1930s semi on a busy road, usually needs a tower or a short run of scaffold with edge protection. The survey settles which, and it goes in the quote so there is no argument on the morning.
Then there is the sky. Cambridge sits in one of the drier parts of England, but a roof that is open to the rafters is still a roof that can let rain onto a ceiling. The fitters check the forecast the day before and again at first light. A breathable sheet and battens are kept on the roof, ready to go over the opening if a shower comes through before the flashing is on. On a long job the aim is to have the frame and at least the lower flashing in place before anyone breaks for lunch.
Opening the roof covering
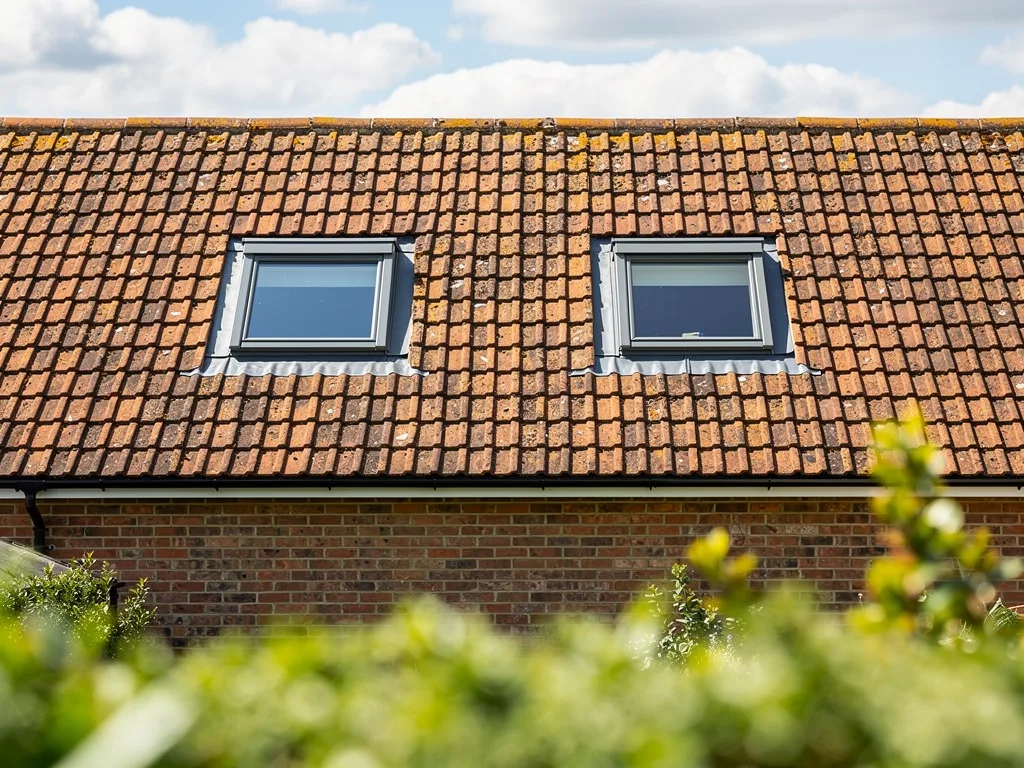
The roof is opened from the outside, a little larger than the window frame, working from the ridge side down so that the tiles above lap cleanly back over the finished flashing.
The position marked on the plan is transferred to the roof, usually by pushing a marker through the ceiling or the felt from inside at the four corners. Tiles or slates are then lifted and set aside for reuse. On a gault brick terrace with natural Welsh slate, each slate is held by nails or copper clips and has to be taken off carefully; slate that cracks is replaced with a matching size, which is why a few spares are brought on older roofs. Plain clay tiles on an Edwardian house hang on nibs and come off faster. Concrete interlocking tiles on a 1970s estate or a newer home are the quickest of all.
With the covering off, the battens across the opening are cut back to the next rafter, and the underlay is cut in a pattern that lets it be folded up round the frame later rather than simply removed. That fold is part of how the underfelt collar works, and why the underlay should never be cut flush and left.
From outside, the fitters can see the real state of the roof for the first time: rotten battens, a sagging rafter, earlier alterations in mismatched tiles. Anything that changes the job is shown to you before work goes further, with a clear note of what it means. On most roofs nothing of the kind turns up, but the process allows for it.
Cutting and trimming the rafters
If the chosen window is wider than the gap between two rafters, a rafter is cut and the load it carried is picked up by new timbers above and below the opening.
This is the structural heart of the job. VELUX sizes are designed so that many windows fit between rafters at typical spacings, which avoids cutting altogether. Often, though, the light plan calls for a wider window than the rafters allow, or a pair of windows side by side. In that case the carpenter props the rafter, cuts it, and fixes a trimmer across the top and bottom of the opening. The rafters either side, now carrying extra load, are usually doubled up with a new timber bolted or screwed alongside.
Two situations need more care. Modern trussed roofs, common on estates and on new homes at Great Kneighton, Trumpington Meadows and Cambourne, are engineered as a whole, and a truss member should not be cut without an engineer's design. And on older cut roofs where the rafters are undersized by today's standards, a structural calculation may be asked for as part of the Building Control notification. The question of going larger than the rafter gap has its own answer page: can you fit a bigger VELUX window?
The trimmers also set the shape of the light well inside. Their position above and below the frame decides how far the lining can splay, which comes back to the light in the room later in the process.
- Rafter beside the opening, with insulation between the rafters.
- Trimmers across the rafters above and below the window, set back so they sit clear of the splayed lining.
- Battens and breathable underlay, the underlay turned up around the frame.
- Slates or tiles, cut and re-laid around the window.
- Flashing kit: an apron dressed over the slates below the window, and a head flashing tucked under the slates above.
- Insulation collar packed around the frame so the cold bridge at the opening is closed.
- Vapour control layer lapped to the frame with a collar, keeping warm, moist room air out of the roof.
- Lining: level at the head and plumb at the sill, so the opening widens into the room and throws more light down.
- Roof window: frame, sash and a sealed glazed unit, sitting a little above the slates in a standard fitting.
Fixing the frame at the right depth
The frame goes in first without its sash, held by angle brackets screwed to the battens or rafters, and it has to sit level, square and at the correct depth in the roof.
The sash is lifted out before fitting to save weight and protect the glass. The frame is then set in the opening with its brackets fixed at the marked installation depth. VELUX windows can be fitted at a standard depth or in a recessed position that sits the window lower in the roof, which suits some conservation settings and gives a slimmer profile from the street. The flashing kit has to match that choice, so it is decided at the survey and not changed on the roof.
Square matters more than it sounds. A frame that is out by a few millimetres across its diagonals will make the sash bind and the seals sit unevenly. The fitters measure both diagonals and check the bottom of the frame with a level before tightening the last screws. A small, even gap is left between the frame and the rafters on each side so insulation can be packed or a collar fitted round it.
At this stage the frame is also checked against the tiling gauge. The lower edge of the flashing has to land on a full course of tiles or slates, so the frame is sometimes adjusted up or down the slope by a few centimetres to suit the courses. It is a small detail, and it is what makes a finished window look as if it was built into the roof rather than cut into it.
Collars, underlay and the flashing kit
Three layers keep the roof dry and the room warm around the frame: the underfelt collar, the insulation collar and the flashing, and each goes on in a fixed order.
The underlay that was cut back earlier is folded up and fixed to the frame, or replaced with a purpose-made underfelt collar, so any water that gets under the tiles runs round the window instead of into the roof space. The insulation collar wraps the frame where it meets the rafters, closing the cold ring that would otherwise form a line of condensation round the inside of the window in January. A vapour barrier collar comes later from inside. Why each of these matters, and how to tell whether an older window has them, is covered in the guide to VELUX insulation collars and installation kits.
The flashing is then fitted from the bottom up. The lower apron goes on first and is dressed down over the tiles below; on profiled tiles the pleated lead or soft apron is shaped into the troughs so water cannot be blown back under it. The side pieces follow, with the tiles or slates cut and reinstated to overlap them. The top piece goes on last, tucked under the course above. Each covering has its own kit, and choosing between them (EDZ for profiled tiles, EDW, EDL for slate and so on) has a separate guide on VELUX flashing types.
Once the covering is back, the sash is refitted, opened, closed and checked for an even seal all the way round. That is the moment the roof is weathertight again, and the outside work is done.
Lining the opening inside
The lining is the part of the job you see every day, and the angle of its sides decides how much of the daylight reaches the room rather than the ceiling.
From inside, the old plasterboard is cut back to the new opening and the vapour barrier collar is fixed to the frame and taped to the existing membrane. Insulation is packed or fitted between the frame, the trimmers and the rafters. Then the reveals are formed, either with plasterboard on timber noggins or with a VELUX lining panel set made for the size.
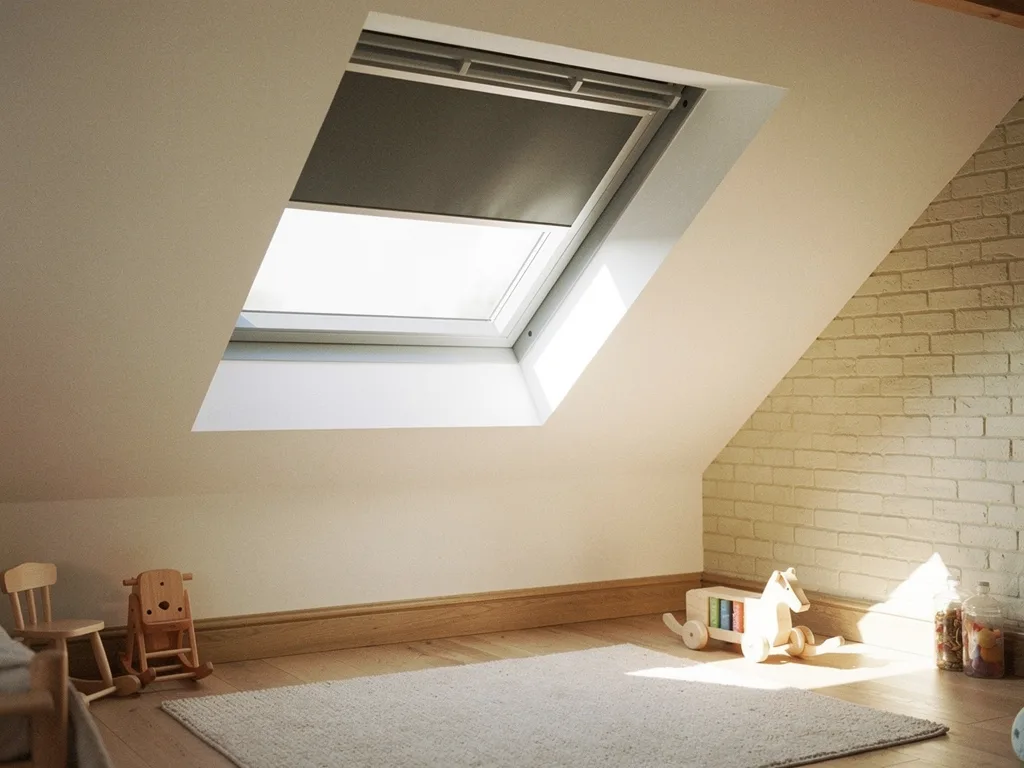
The geometry is where the light plan meets the carpentry. VELUX recommends that the top of the lining runs horizontally and the bottom runs vertically, rather than both sides following the line of the rafters. A horizontal head lets light spread across the ceiling and deeper into the room; a vertical bottom lets warm air from a radiator below rise past the glass, which helps keep condensation off it. In a narrow Mill Road loft bedroom, that one change can make the window look noticeably larger from the doorway without changing its size code. The side reveals are usually splayed outwards a little for the same reason.
Once the reveals are formed, the joints are taped and the boards are skimmed or filled, and the reveals are left ready for decoration. On a replacement where the old lining is sound, some or all of this stage may not be needed at all, which is one reason a like-for-like swap is quicker. Whether that is possible without disturbing the room is set out on can you replace a VELUX window from inside?
Blinds, controls and making it electric
Blinds and any electric operation are fitted after the lining is finished, and they are part of the light plan from the start rather than an extra chosen afterwards.
VELUX blinds clip into brackets on the window frame, so they fit neatly once the reveals are done. Which blind depends on the slope. A south or west-facing window in a bedroom usually wants a blackout blind for sleep and, where summer heat is the worry, an external awning blind that stops the sun before it reaches the glass. A north slope in a study may need nothing more than a pleated or roller blind for privacy at night. The full range, and which suits which room, is set out in the VELUX blinds guide.
A window that is out of reach, above a stairwell or high in a vaulted ceiling, is often best as an INTEGRA electric or solar model. A solar version needs no cabling into the room, which keeps the lining tidy. A mains version needs a supply run to the window, planned before the lining is closed so the cable is hidden in the reveal. Both close automatically when the rain sensor feels the first drops. The trade-offs are explained on VELUX INTEGRA electric and solar windows.
With blinds fitted and controls paired, the window is operated through its full range, the ventilation flap is checked, and you are shown how to turn the sash for cleaning and how the blinds lock.
Stages at a glance
The same sequence runs through every job, but how long each stage takes depends on whether the window is new, larger than the old one, or a straight swap.
| Stage | Where | New opening | Like-for-like swap |
|---|---|---|---|
| Set up and protect | Inside and out | Yes | Yes |
| Open the roof | Outside | Yes | Around the frame only |
| Cut and trim rafters | Outside | If wider than the gap | No |
| Fix frame, collars, flashing | Outside | Yes | Yes |
| Form the lining | Inside | Yes | Only if needed |
| Blinds and controls | Inside | Yes | Yes |
Timings vary with access, roof covering and the plaster finish. As a rough picture, a swap between existing rafters is often a single visit, and a new window with a full lining runs to a day or two. The factors behind those ranges are on how long does a VELUX installation take?
Paperwork, Building Control and handover
The job is not finished when the tools are packed: a new roof window is building work, and the notification and records close it off properly.
Most roof windows on a house fall within permitted development, provided they project no more than 150mm from the roof plane and sit no higher than the highest part of the roof, with extra conditions on side-facing slopes. Conservation areas with an Article 4 direction, listed buildings and flats are different, and the details are on do you need planning permission for VELUX windows? In Cambridge and much of South Cambridgeshire, planning is handled by Greater Cambridge Shared Planning.
Building Regulations are separate from planning. A new roof window that involves cutting rafters is structural work and is normally notifiable, and the window has to meet the thermal limits in Part L. Where the work is notifiable, we handle the Building Control notification, and the inspector's visits are arranged around the stages above, usually once the structure is exposed and again at completion. We install to current Building Regulations either way.
At handover you receive the product documents, the blind and control instructions, the completion paperwork where the work was notified, and the details of the 10-year workmanship guarantee, which covers the installation. The VELUX product carries its own manufacturer warranty alongside it.
Questions people ask
Does the whole roof need scaffolding for one VELUX window?
Not usually. A single window on a low roof can often be fitted from a roof ladder, and a two-storey slope usually needs a tower or a short section of scaffold rather than a full wrap. The survey decides which, based on height, the ground below and the pitch.
Will the room be usable while the window goes in?
The room directly under the window is out of use while the roof is open and the lining is formed. The rest of the house carries on as normal, and the fitters protect the route to the loft so dust stays where the work is.
Can I fit the window myself and have you line it?
The process works best as one job, because the frame depth, collars and lining angles all depend on each other, and the guarantee covers installation work we carry out. What doing it yourself involves is covered on can you fit a VELUX window yourself?
What happens if it rains halfway through?
The opening is covered with a breathable sheet held down with battens until the rain passes, and work resumes once the roof is dry. The day is planned so that the roof is open for as short a stretch as possible.
If you are planning a new window and want to see where its light will land before the roof is touched, read how we plan the light, see the full VELUX window installation service, or book a light survey.