What a splayed reveal is, and why it matters more than the glass
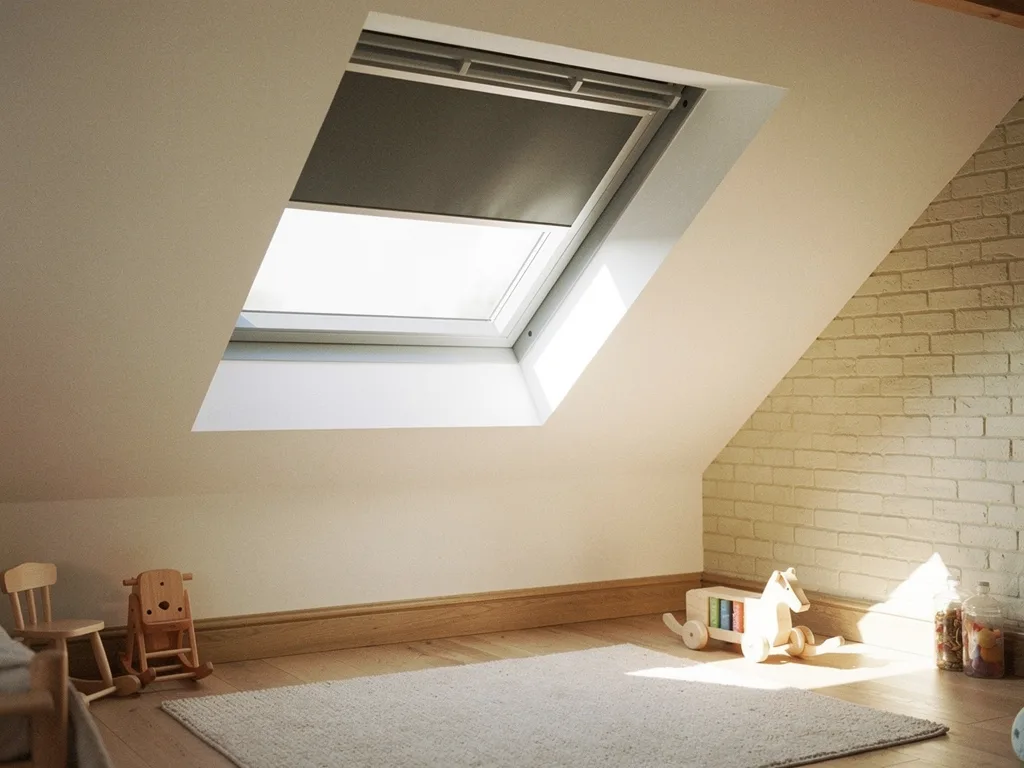
A splayed reveal is the internal lining around a roof window cut at an angle instead of square to the glass, so the opening widens as it comes into the room. It is the cheapest way to make the same roof window throw light further, and it is decided long before anyone picks a blind.
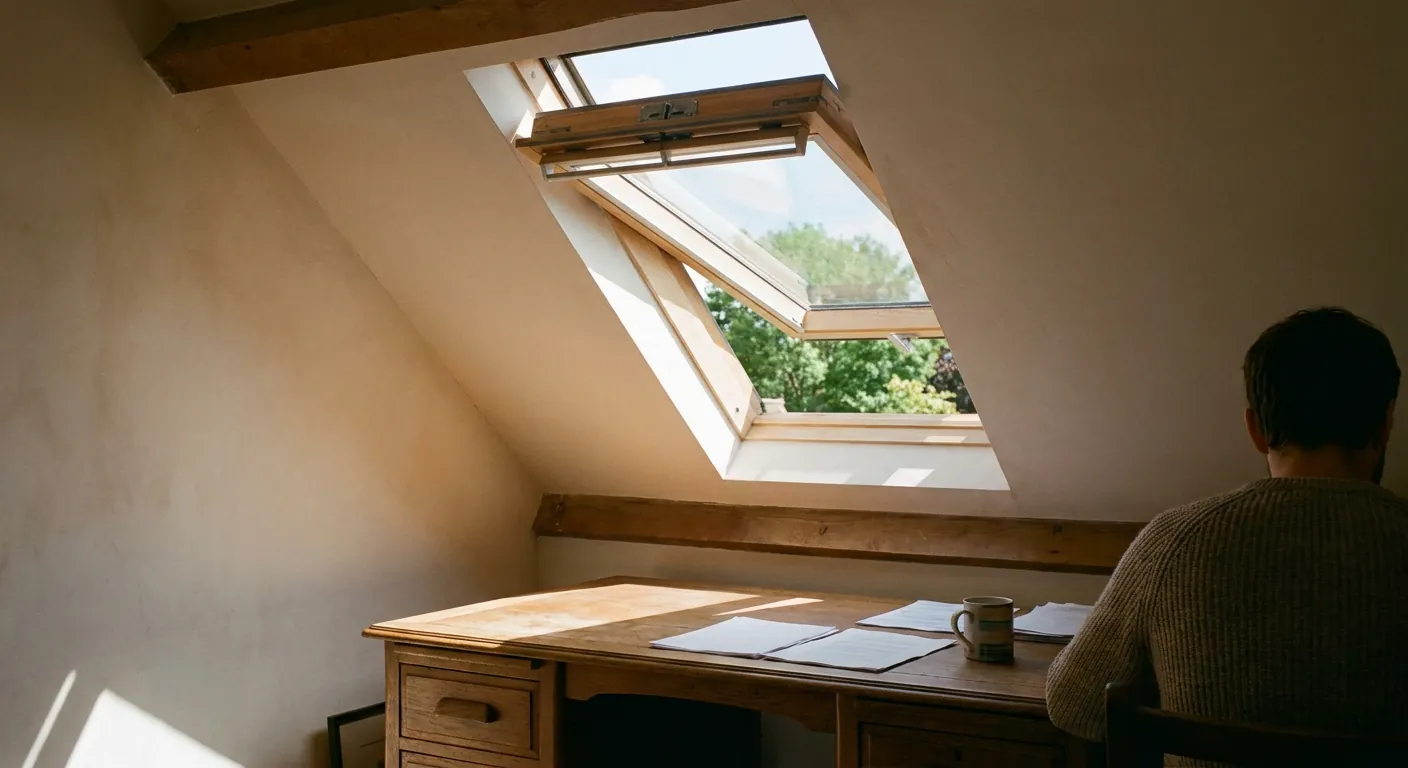
Every roof window in a pitched roof sits in a tunnel. The tunnel is the depth of the rafters plus the insulation plus the plasterboard, and in a loft conversion built to current Building Regulations that depth is rarely less than 200mm and often closer to 300mm once the insulation below the rafters is added. Daylight has to travel down that tunnel before it reaches the room. If the four sides of the lining run at right angles to the glass, the tunnel behaves like a short chimney: light that enters at a steep angle hits the lining, bounces, loses some of its strength and arrives in the room as a narrow beam. Angle the lining outwards and the tunnel becomes a funnel. The same pane now sees more sky, and the light leaves the opening over a wider spread.
A splayed pitched roof skylight reveal does not change how much light reaches the outside of the glass. What it changes is how much of that light makes it into the room and where it lands once it does. On a deep lining, the difference between a square reveal and a well-splayed one is easy to see from the doorway: the square one reads as a bright rectangle in a dim ceiling, and the splayed one reads as a soft wash that lights the plaster around it and carries down the wall.
This guide explains the geometry, the choices at the top, bottom and sides, how the lining is built and insulated, and how we decide the angles on a real Cambridge loft. If you are still choosing the window itself, start with the types of roof window, then come back here once the size and slope are settled.
How the angles work: level at the head, plumb at the sill
The standard approach sets the top lining horizontal and the bottom lining vertical, which opens the tunnel in the two directions that matter most. Manufacturers' own fitting guidance for pitched roof windows describes this arrangement, and it is our starting point on almost every loft.
Think about the roof in section. The glass lies in the plane of the roof, say at 40 degrees. A square lining runs at 90 degrees to the glass, so the head lining slopes down into the room and the sill lining slopes up towards the eaves. Both of them cut off part of the sky.
- The head, set level. Instead of the top lining dropping into the room, it runs flat, parallel to the floor. That lifts the upper edge of the opening and lets high sky and summer sun travel deeper into the room instead of striking the top lining and stopping.
- The sill, set plumb. The bottom lining runs straight down, vertical, like the face of a wall. Light from lower in the sky, which is most of the winter light in Cambridge, now falls down that face and out across the floor instead of hitting a sloping shelf.
- The sides, splayed or square. The side linings can open outwards a little, but they are limited by the rafters on either side. We come back to them below.
The reason for the plumb sill goes beyond light. A radiator is often placed under a roof window in a loft room, and a vertical sill lets warm air rise straight up the face of the lining and across the inner pane. That moving air helps keep the glass above the dew point on a cold morning, which cuts down condensation on the inner pane. A square sill makes a shelf where cold air settles and the warm air from the radiator never reaches.
- Rafter beside the opening, with insulation between the rafters.
- Trimmers across the rafters above and below the window, set back so they sit clear of the splayed lining.
- Battens and breathable underlay, the underlay turned up around the frame.
- Slates or tiles, cut and re-laid around the window.
- Flashing kit: an apron dressed over the slates below the window, and a head flashing tucked under the slates above.
- Insulation collar packed around the frame so the cold bridge at the opening is closed.
- Vapour control layer lapped to the frame with a collar, keeping warm, moist room air out of the roof.
- Lining: level at the head and plumb at the sill, so the opening widens into the room and throws more light down.
- Roof window: frame, sash and a sealed glazed unit, sitting a little above the slates in a standard fitting.
The diagram shows a roof window in the rafters with its flashing outside and its lining inside. Picture the head line pulled back until it is flat and the sill line swung down until it is upright, and you have the splayed version.
What the splay does to the light in the room
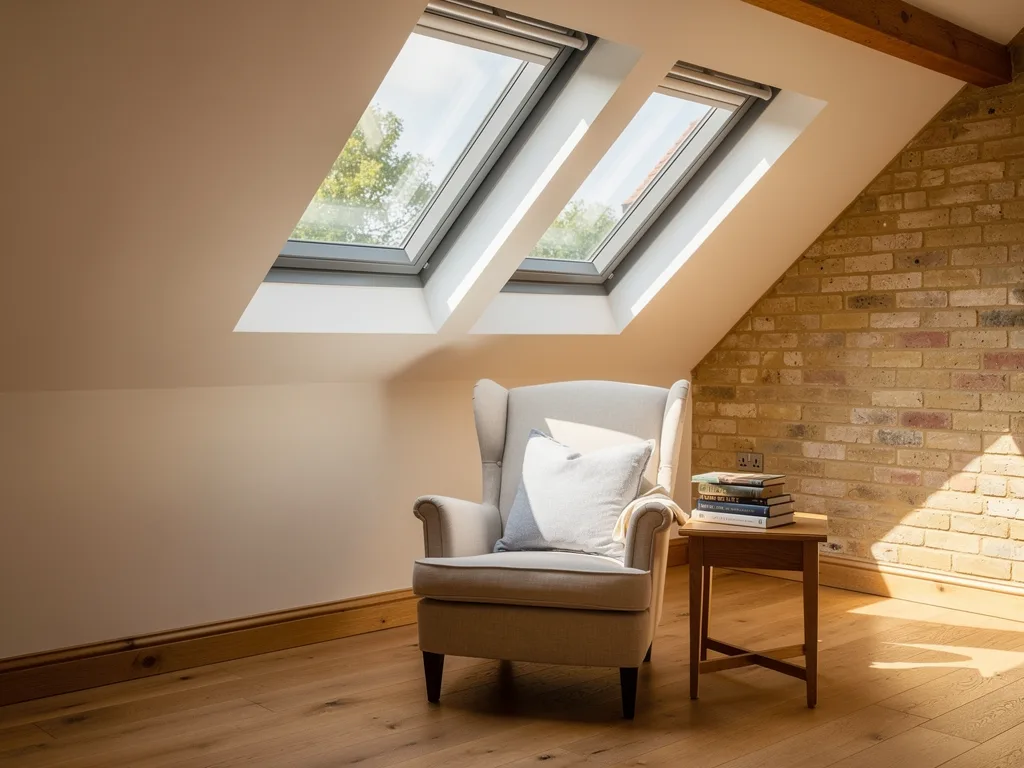
A splay spreads light rather than adding it: the sun patch gets larger and softer, the plaster around the window brightens, and the contrast between the window and the ceiling falls. That lower contrast is what makes a loft room feel evenly lit rather than lit by a hole.
Glare is mostly a contrast problem. A bright window set in a dark surround is harder on the eyes than the same window set in a surround that is itself lit. The angled linings catch light and pass it on, so they become a gradient between the full brightness of the sky and the darker ceiling. On a north slope, where the light is steady and cool, this is what turns a usable room into a pleasant one. On a south slope it softens the edge of the direct beam, although glass and blinds still do the heavy lifting there (see whether a roof window will make a loft too hot).
The effect on where the light lands is the part we plan most carefully. With a square lining, direct sun through a south or west slope lands as a tight shape close to the wall below the window. With a plumb sill and a level head, the shape of the sun patch is still set by the glass, but the lining no longer clips it at the edges. In late afternoon, when a west slope sends low sun across the room, a square sill can throw a hard shadow line across a desk or a bed. The plumb sill moves that line out of the way.
A splayed reveal also changes the view. From a chair or a bed, a vertical sill brings the bottom of the glass into sight sooner, so you see more sky and, on a lower window, more of the roofscape. That is a small thing in a bathroom and a large thing in a bedroom where the window is the only view out. Setting the right height for that view is a separate decision, covered in positioning a roof window in a room.
Side linings: how far they can open
The sides are the one reveal the rafters restrict. A window fitted between two rafters has a rafter on each side, so a side splay has to be built inside the insulation zone or gained by setting the window with room to spare within the rafter gap.
There are three common arrangements, and the right one depends on the structure you have and the room you want.
| Side lining | When it suits | What it gives |
|---|---|---|
| Square to the glass | Window fills the rafter gap | Simplest; narrowest spread |
| Parallel to each other | Deep linings, tight rafters | Clean, even box |
| Splayed outwards | Trimmed opening or spare width | Widest spread; more lit plaster |
A side splay is easiest where the roof structure already has to be trimmed for the window, because the trimmed opening can be set a little wider than the frame and the extra width used to angle the sides. Where a window fits neatly between existing rafters, the rafters themselves set the limit, and cutting a rafter only to gain a side splay rarely earns its keep. The structural choice between the two approaches is covered in trimming rafters for a roof window and fitting between rafters without cutting.
Insulation below the rafters gives a little room to work with. In a loft finished with an insulated plasterboard layer beneath the rafters, the inner face sits 50mm to 100mm lower than the rafter faces, and a modest side splay can be formed in that depth without touching the structure. It is not a dramatic angle, but it takes the hard edge off the sides of the opening.
Building the lining: framing, insulation and the vapour line
A splayed reveal is only as good as what sits behind the plasterboard. The angles are formed with timber, the gaps are filled with insulation, and the vapour control layer is carried into the lining and sealed to the window frame so that warm, moist room air cannot reach the cold roof.
The level head needs something to fix to. In practice that is a timber bearer set horizontally between the rafters at the height where the head lining will meet the sloping ceiling, with short noggins to carry the plasterboard. The plumb sill is formed the same way, with a vertical face framed off the lower trimmer. Getting these heights right on paper first matters, because the head bearer position decides how much the head can open before it meets the ceiling line.
Insulation is where splayed reveals are built well or badly. The angled linings leave triangular voids behind them, and those voids have to be filled. Leave them empty and you create a cold zone around the window where the room surface temperature drops, which is exactly where condensation and mould tend to start. We fill them with insulation cut to the shape and carry the insulation right up to the frame, so the lining is as warm as the rest of the ceiling. Many roof window manufacturers now offer an insulation collar that wraps the frame and seals the gap between frame and rafter; it does not replace insulating the reveal voids, but the two together close the weakest point.
The vapour control layer comes next. In a warm, insulated loft room the vapour line runs on the room side of the insulation, and around a roof window it has to turn into the reveal and meet the window frame. Manufacturers supply a vapour barrier collar for this purpose. Where the lining is splayed, the collar has to follow the new angles, which takes more care than a square box but is the same principle. Once that is sealed, plasterboard goes on, the corners are beaded and the reveal is skimmed with the rest of the ceiling.
Some manufacturers also sell pre-made lining kits in white-finished board that fit their frame sizes. They give a neat, quick finish, although standard kits are usually made for square or modest splays. For the level-head, plumb-sill profile on a deep loft build-up, we generally frame and plasterboard the reveal to suit the room, so the lining follows the ceiling it sits in.
Head and sill in a real Cambridge loft
How much splay you can have depends on the roof pitch, the depth of the build-up and how the window sits relative to the ceiling. The same approach produces a very different reveal on a steep Victorian slope in Romsey than on a shallower 1930s hip in Cherry Hinton.
On a gault brick terrace in Petersfield or along Mill Road, a rear loft conversion usually pairs a dormer with roof windows on the front slope, or with roof windows in the rear slope beside the dormer. The front slope on these houses is often steep, and a steep pitch works in the reveal's favour: the glass is already near vertical, so levelling the head does not have to travel far, and the plumb sill is short. The lining depth is where the gain lies, because a modern warm loft build-up is much thicker than the original lath and plaster ever was.
A 1930s semi in Chesterton or Cherry Hinton with a hipped roof and a shallower pitch behaves differently. The glass is lying back further, the tunnel through the lining is effectively longer at the head, and a level head gives a bigger gain. The sill can drop a long way before it reaches the knee wall, so it is worth checking where the plumb face will meet the floor or the knee wall before building it.
Vaulted rooms in newer homes, including extensions built with the ceiling open to the rafters, have their own geometry. The ceiling runs at the roof pitch all the way up, so the head lining meets a sloping ceiling rather than a flat one. A level head is still possible, but it becomes a small horizontal soffit in a sloping plane, and the design decision is whether it looks intentional. We go into setting windows at the right height in roof windows in vaulted ceilings.
Where two roof windows sit side by side or one above the other, the reveals interact. A shared splay between two side-by-side windows can read as one wide opening, and the section of lining between stacked windows can be angled so each window lights its own zone of the room. The combinations themselves are covered in roof window combinations.
Where splaying is limited, and what to do instead
Not every opening can take the full profile. Services in the roof, a structural purlin, a steel in a loft conversion, a stairwell or a window set close to the ridge can each restrict how far a lining opens, and the fix is usually to rethink the window position rather than accept a cramped reveal.
A purlin running across the slope is the classic obstacle in older Cambridge roofs. If the head of the window sits just below it, the head lining cannot be levelled without cutting into the timber, which is not an option. Moving the window down the slope by a course or two, or choosing a slightly shorter window, often frees enough room to level the head properly. That trade is almost always worth it: a slightly smaller pane with a good reveal can light a room better than a larger pane in a narrow tunnel.
Near the eaves, a plumb sill can run into the knee wall or the floor. In a loft room with a low knee wall, the plumb sill face may meet the knee wall and form a continuous vertical surface, which looks tidy and lights the wall below well. If the window is set too low for that, a partly splayed sill that stops at the knee wall still helps.
Fire escape windows need a little more thought. A roof window used as an escape route in a loft conversion has to give a clear opening and sit within reach under Approved Document B, and the lining must not get in the way of climbing out. A plumb sill works well here because it leaves a clear vertical face below the opening, but the dimensions have to be checked against the rules in roof windows and fire escape rules.
Bathrooms and shower rooms under the slope ask for moisture-resistant board and a finish that copes with steam. The splay itself helps a bathroom roof window, because the plumb sill lets warm air wash the glass and the larger lit surround stops the room feeling like a shaft.
How we plan the reveal before the roof is opened
The reveal is part of the light plan, written down before any tiles come off. We measure the pitch and the build-up, check the structure around the opening, and then set out the head and sill angles against where the light needs to land in the room.
At the survey we stand in the room at the height you will use it, whether that is at a desk, on a bed or on a landing, and sketch the section: roof pitch, rafter depth, insulation depth, ceiling line and window size. From that section we can show how much further into the room the light will reach with a level head and a plumb sill than with a square lining, and whether a side splay is achievable. We note any obstacles, such as purlins or services, and adjust the window position if that gives a better reveal. The method is the same one we set out in how we plan the light.
The written quote then carries the decision in plain terms: the window size and type, its position on the slope, the reveal profile for head, sill and sides, the glass and any blinds, and the reason for each. There is no surprise on the day when the lining goes in at an angle you did not expect.
- Section drawn: pitch, lining depth and ceiling line measured on site.
- Head and sill set: level head and plumb sill checked against purlins, knee walls and escape rules.
- Sides decided: square, parallel or splayed, depending on the rafters and any trimming.
- Finish agreed: insulation behind the reveal, vapour collar, plasterboard and a pale, matt finish.
A new roof window is notifiable building work, so Building Control is involved whichever way the lining is formed. We handle that notification where the work is notifiable, and the reveal insulation and vapour line are built to current Building Regulations. For what the inspection covers, see whether roof windows need building regulations. Every installation carries our 10-year workmanship guarantee. For the wider service, including sizes and slopes across Cambridge homes, see roof window installation in Cambridge, and when you are ready, book a light survey.
Questions people ask
Can an existing square reveal be converted to a splayed one?
Often, yes. The window stays in place; the old lining is taken out, the head and sill are reframed at the new angles, the voids are insulated and the vapour line is renewed before new plasterboard goes on. It is a tidy job when the room is being redecorated or when an older roof window is being replaced with a new one anyway.
Does a splayed reveal make the room colder?
Not when it is built properly. The extra lining area is insulated behind the board, and a plumb sill with a radiator below it tends to keep the glass warmer, not colder. Cold spots come from empty voids behind the lining, which is why they are always filled.
Will a blind still fit a splayed reveal?
Yes. Roof window blinds fit to the window frame itself, not to the lining, so the angle of the reveal does not affect them. The splay can make the blind easier to reach and operate because the frame is more exposed.
Is a splay worth it on a small roof window?
It matters more on a small window, not less. A small pane in a deep lining is the case where the tunnel costs the most light, so opening the head and sill is often the difference between a window that lights a corner and one that lights the room.