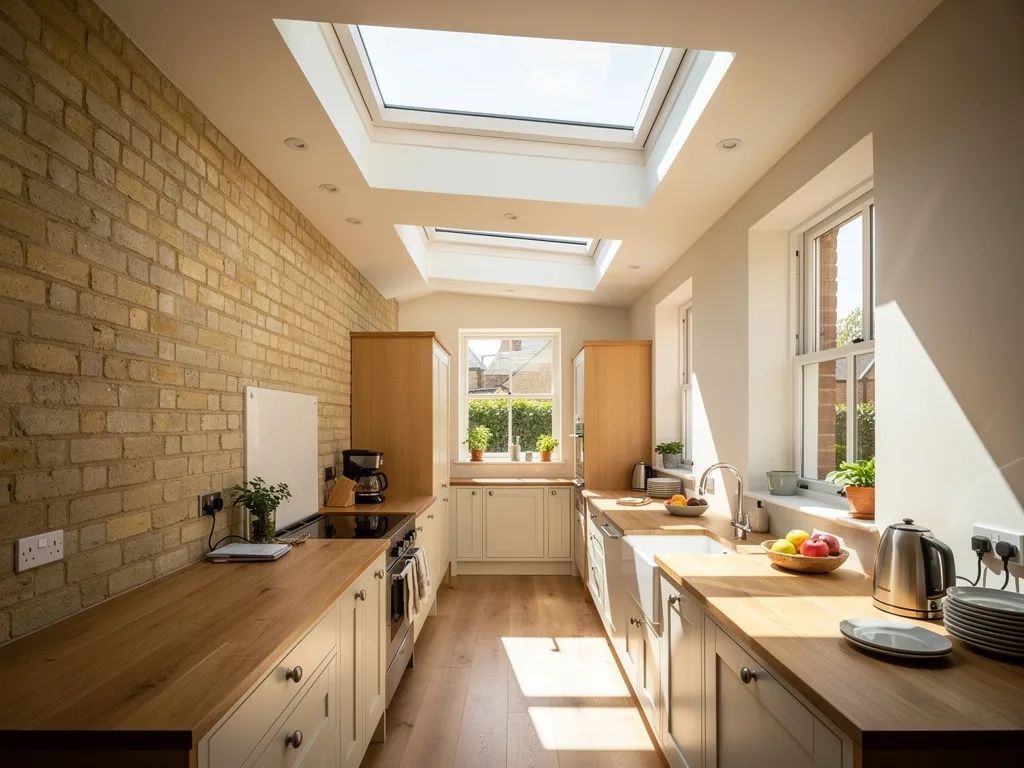
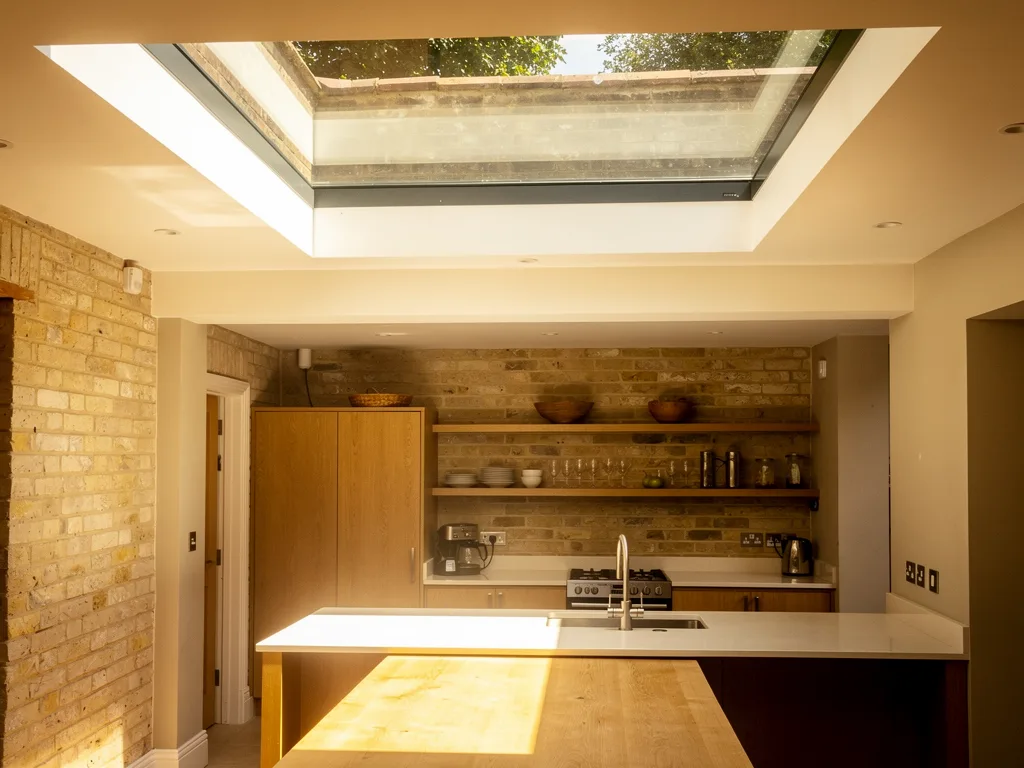
Two layers that have to agree
A flat rooflight keeps the rain out only because the roof covering climbs its kerb and the rooflight frame laps down over that covering. Get the order of those two layers right and the joint sheds water for decades; get it wrong and the best glass in the world sits on a weak seam.
Every flat roof in Cambridge, from a 1960s garage in Cherry Hinton to a new kitchen extension on a Romsey terrace, is finished in some kind of waterproof layer. On most domestic roofs that layer is EPDM rubber, GRP fibreglass, a single-ply thermoplastic sheet or built-up bituminous felt. Metal roofs in lead or zinc exist too, but they work on different principles and have their own guide. Each of the four membranes turns a corner, bonds to timber and meets a rooflight frame in its own way.
This guide walks through those four coverings one at a time: how each is carried up a kerb, where the rooflight frame takes over, what the weather in the Fens asks of the detail, and which trade normally does which part. It sits alongside our page on flat roof rooflight installation in Cambridge, which covers the whole job from sizing to the finished reveal.
How the covering meets the kerb
Whatever the membrane, the principle is the same: it runs across the deck, turns up the outside face of the kerb, continues over the top edge, and the rooflight frame then sits on top and overlaps it. Water running down the frame lands on the membrane, never behind it.
The kerb, or upstand, is the box that lifts the rooflight clear of the roof surface. Roofing guidance asks for at least 150mm between the finished roof surface and the top of the waterproofing at any upstand, so that standing water, drifting snow and wind-driven rain cannot reach the joint. Our guide to flat rooflight upstands explains how that height is measured and why it matters. What concerns us here is the skin laid over the kerb, and the handful of places where it tends to go wrong.
Three points decide the quality of the detail whichever covering is used:
- The internal corner where the deck meets the kerb. A membrane folded sharply into a 90 degree corner is stressed along a line; a small timber or foam fillet, where the system calls for one, softens the turn.
- The external corners of the kerb. Four of them, each a three-way fold that has to be formed, welded or pre-shaped without a gap.
- The top edge. The membrane must finish where the rooflight frame will cover it, with no loose edge pointing uphill and nothing that stops the frame sitting flat and true.
- Joists, with doubled trimmers either side of the opening to carry the loads of the cut joists around it.
- Deck (usually 18mm ply or OSB) with a vapour control layer laid on it.
- Insulation boards above the deck (a warm roof), often tapered to give the roof its falls.
- Waterproof membrane dressed up the upstand and over its top, so the joint is lapped, not sealed.
- Upstand, or kerb: insulated timber, finishing at least 150mm above the finished roof surface to keep standing water and splash off the joint.
- Rooflight unit fixed over the kerb, its frame skirt shedding water outside the membrane turn-up.
- Plastered reveal lining the opening from the ceiling up to the frame, finished white to bounce the light down.
- Roof falls to an outlet: designed at about 1:40 so the finished roof never falls less than 1:80.
The rooflight manufacturer's fixing instructions set the last part. Some frames screw through a flange into the side of the kerb, some clamp over the top, and some bonded frameless units sit on a bed of sealant on a carefully levelled timber. Each asks for the membrane to stop at a slightly different point, so the roofer and the rooflight fitter need to know which unit is going on before the covering is dressed up the upstand.
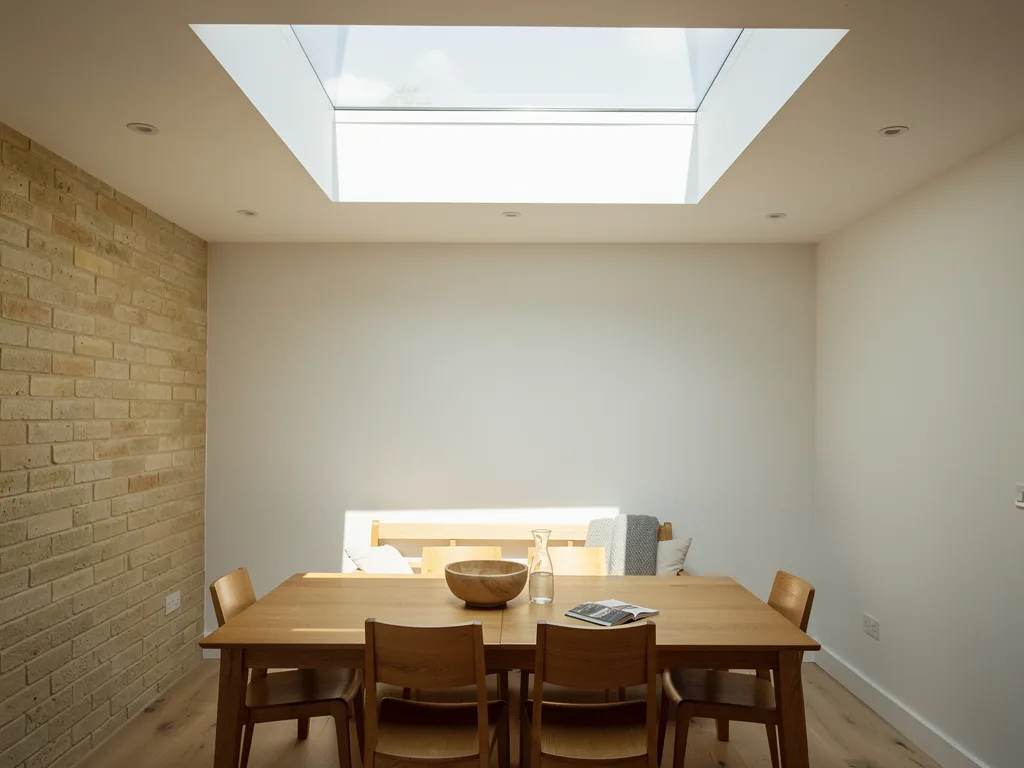
EPDM: one sheet, bonded up the upstand
EPDM is a synthetic rubber sheet, usually black and around 1.2mm to 1.5mm thick, laid in as few pieces as possible and glued to the deck. At a rooflight it is lifted up the kerb and bonded with a contact adhesive made for vertical faces.
Because EPDM comes in wide sheets, a small extension roof can often be covered in a single piece. At the rooflight the roofer either cuts the sheet around the kerb and dresses separate strips up each side, or runs the main sheet up and folds the corners. The folds are the delicate part. Cured EPDM does not stretch into a neat three-way corner, so the external corners are normally finished with preformed corner pieces or with a strip of uncured flashing membrane that can be moulded around the shape and then bonded in place. Seams are joined with the manufacturer's seam tape and primer rather than a liquid glue.
EPDM is well suited to a rooflight retrofit into an existing roof, because a new strip can be bonded and taped to the old sheet around the opening once the surface has been cleaned and primed. The age and condition of the existing rubber matters: sound, supple EPDM takes a new lap well, while a sheet that has shrunk away from its edges or crazed on the surface is a sign that the roof as a whole needs looking at before anyone cuts a hole in it. Our answer on fitting a flat rooflight to an existing roof goes into how that judgement is made.
Two practical points. EPDM should not be left in contact with bitumen or oil-based products, so an old felt roof overlaid in rubber needs a separating layer at the upstand as well as across the deck. And the adhesives want a dry surface and moderate temperatures, which in a Cambridge winter can mean waiting for the right day. The effect of cold on bonding is covered in can a flat rooflight be fitted in winter.
GRP: laminated up and over in one piece
A GRP roof is built on site from glass fibre matting wetted out with polyester resin on a timber deck, then finished with a coloured topcoat. Around a rooflight the laminate simply continues up the kerb and over its top, giving one hard, jointless skin.
That continuity is the appeal. There are no seams at the corners, because the matting is cut, lapped and rolled into the angles while it is wet and cures into a single piece. Where a GRP roofer wants a crisp edge, a preformed angle trim is fixed at the deck-to-kerb junction and laminated over, which gives the corner a consistent radius and helps the resin avoid pooling. The top edge of the kerb is laminated too, so the rooflight frame sits on hard fibreglass rather than bare timber.
GRP asks more of the conditions than the other coverings. Resin cures by chemical reaction, which slows sharply in cold air and is spoiled by damp, so the laminating is done on a dry deck in suitable weather, with the topcoat applied once the base coat has reached the right stage. It also asks more of the structure. A hard laminate cannot flex with a springy deck, and movement between boards or at the kerb shows up later as fine cracks along the lines of stress. Good GRP work around a rooflight starts with a stiff, well-fixed deck of the grade the resin supplier specifies and a kerb that is fixed solidly to the joists.
Retrofitting into an old GRP roof is quite possible. The existing laminate around the new opening is ground back to a clean key, and new matting is lapped over it and up the kerb. The colour of an aged topcoat rarely matches a fresh one exactly, so it is worth expecting a slightly different shade around the new rooflight until the whole roof weathers in.
Single-ply PVC and TPO: welded seams and shaped corners
Single-ply roofs use thin sheets of PVC or TPO, often pale grey or white, joined by hot-air welding rather than adhesive. At a rooflight the membrane is welded to itself up the kerb, and the corners are made from prefabricated pieces or from unreinforced sheet shaped with heat.
Single-ply is widely used on newer homes, larger extensions and commercial roofs, so it is a covering owners of recent houses in places such as Eddington and Trumpington Meadows may well find on their extension. Its strength at a rooflight is the weld. A properly made hot-air seam fuses the two layers into one, and it can be probed along its length to check that it is continuous. The kerb itself is usually wrapped in the same membrane, fixed along its base with a termination bar or bonded to a compatible adhesive, and welded to the field sheet.
Two things set single-ply apart. PVC membranes must be kept away from bitumen and from some expanded polystyrene insulation, because plasticisers can migrate out of the sheet and leave it brittle. That matters when a new rooflight kerb is built on an old felt roof or wrapped with the wrong insulation. And single-ply systems come as a family: membrane, corners, adhesives and edge trims from one manufacturer are designed to work together. Mixing parts from different systems at a rooflight tends to void the roofing guarantee even when it looks tidy.
Felt and torch-on: layers, capsheet and fire risk at the kerb
Built-up felt is the traditional British flat roof: two or three layers of bitumen membrane bonded together, the top one a mineral-surfaced capsheet. At a rooflight each layer is carried up the kerb in turn and staggered so no two joints line up.
Plenty of older extensions and garages across Cambridge and its villages were finished in felt, and modern high-performance torch-on systems are still laid today. The upstand detail is built in layers, just as the roof is: an underlayer turned up the kerb, then the capsheet over it, with the laps offset and the mineral surface continuing up the face so the bitumen is protected from sunlight. An angle fillet at the base helps the layers make the turn without cracking.
The kerb is where torch-on work needs the most care. Timber upstands and the plastic or aluminium frame of a rooflight are exactly the materials that should not see a naked flame. The roofing trade's Safe2Torch guidance treats upstands, gaps and edges as danger zones and points roofers towards cold-applied, self-adhesive or pre-formed alternatives where a torch would be too close. In practice the upstand is often completed with a self-adhesive or cold-applied layer that is compatible with the torched field, and the rooflight goes on only once all hot work has finished.
When a rooflight is being added to an old felt roof, the first question is what the felt is like. A capsheet that has lost its mineral chippings, blistered or split along its laps is at the end of its useful life, and cutting a new opening into it simply adds another joint to a tired roof. In that case the sensible order is to renew the covering and fit the rooflight as part of the same job, which is where a clear division of work between trades matters most.
The four coverings side by side
Each membrane handles the kerb, the corners and the weather differently. The table below sets out the practical differences at the rooflight, rather than across the roof as a whole.
| Covering | Up the kerb | Corners | Watch for |
|---|---|---|---|
| EPDM | Contact adhesive | Preformed or uncured flashing | Bitumen contact, cold glue |
| GRP | Laminated in one skin | Lapped matting, angle trim | Damp, cold, deck movement |
| Single-ply | Hot-air welded | Prefabricated or heat-formed | Plasticiser migration, mixed systems |
| Felt | Layered, staggered laps | Fillet and folded capsheet | Flame near timber and frame |
None of these is the right answer for every roof. EPDM and single-ply cope well with small movements; GRP gives a hard, walkable finish; felt is familiar to a great many roofers and easy to tie into an existing felt roof. What matters at the rooflight is that the detail follows the membrane manufacturer's instructions and meets the rooflight maker's requirements at the top of the kerb.
Warm decks, cold decks and the layers underneath
The covering is the top of a build-up, and the build-up changes the kerb. On a warm deck roof the insulation sits above the timber deck, just under the membrane, so the upstand has to be tall enough to rise clear of that insulation and still leave 150mm of waterproofing above the finished surface.
Most new extensions around Cambridge are built as warm decks, with rigid insulation boards laid over a vapour control layer on the deck and the membrane on top. The rooflight kerb then stands on the deck and the insulation boards are cut tight around it, or it sits on the insulation on a purpose-made insulated upstand. Either way, the covering runs over the insulation and up the kerb, and the vapour control layer below has to be turned up and sealed to the kerb as well so warm, moist air from the room cannot reach the cold side of the insulation. Our answers on rooflights in warm deck roofs and on the vapour control layer cover those two layers in detail.
Older roofs are often cold decks, with insulation, if any, between the joists below the boards. Here the upstand can be shorter, but the roof void needs ventilating, and the new opening must not block the airflow between joists. Green roofs add another layer again: substrate and planting above the membrane, which means a taller kerb and a gravel margin so plants and soil stay clear of the frame. That case has its own answer on rooflights on green roofs.
Falls matter too. A flat roof is laid to a slight slope so water drains to a gutter or outlet, and the rooflight should sit where it does not interrupt that flow. A kerb placed across the line of the falls, especially on a roof hidden behind a parapet, can hold a pool of water on its uphill side. Where the layout makes that unavoidable, a small tapered cricket in the insulation can split the water around the kerb before the membrane goes on.
Who does which part of the job
A flat skylight on a membrane roof touches three trades: the carpenter or builder who forms the opening and the kerb, the roofer who lays the covering, and the rooflight installer who fits and seals the unit. The order in which they work, and who signs off each stage, decides whether the joint is sound.
On a new extension the usual sequence runs like this:
- The builder trims the joists around the opening and builds or fixes the kerb to the size the rooflight maker gives.
- The roofer lays the vapour control layer, insulation and covering, and dresses the membrane up and over the kerb.
- The rooflight is lifted on, fixed to the kerb as the manufacturer specifies and sealed, with the frame lapping over the turned-up membrane.
- Inside, the reveal is lined, insulated and plastered, and the Building Control inspection takes place where the work is notifiable.
That is simple on paper and easy to get out of step on site. A kerb built a few millimetres out of square leaves a frameless unit rocking on its bed; a membrane taken too high over the top edge stops a clamping frame from seating; a rooflight fitted before the roofer has finished leaves the upstand impossible to dress. Agreeing the unit, the kerb dimensions and the finishing height before anyone starts saves a return visit.
For a retrofit or a replacement, the rooflight installation and the local weathering around it are one piece of work. Our written light plan and quote state which covering the new rooflight will tie into, how the upstand will be detailed and whether any of the surrounding roof needs renewing first, so it is clear from the outset who is responsible for what. The practical stages of the day itself are set out in flat roof skylight fitting step by step.
Guarantees follow the same lines. A roofing system usually carries the membrane manufacturer's own guarantee, which can depend on its approved components being used at every upstand. The rooflight carries its maker's product warranty. Our 10-year workmanship guarantee covers the installation work we carry out. Knowing where each one starts and ends is part of choosing who details the kerb.
Questions people ask
Can a rooflight go on any type of flat roof covering?
Yes, a flat rooflight can be weathered into EPDM, GRP, single-ply or felt, as long as the covering is in sound condition and the kerb detail follows the membrane maker's method. What changes between coverings is how the corners are formed and which materials must be kept apart, not whether the rooflight can be fitted.
Does fitting a rooflight affect my roofing guarantee?
It can, if the upstand is detailed with components the roofing system does not approve or by someone the membrane maker does not recognise for that system. Check the terms of the existing roof guarantee before the opening is cut, and keep a record of how the new upstand was weathered.
Should the roof be renewed at the same time as the rooflight?
If the covering is near the end of its life, yes. Renewing the roof and fitting the skylight together means one continuous detail at the kerb and one disturbance to the room below, rather than a new joint cut into an old roof that will need replacing within a few years anyway.
What pitch does the glass need on a flat roof?
About 5 degrees on the glass, provided by an angled kerb or by the unit itself, so rain runs off rather than sitting on the pane. The covering is laid to its own gentler falls. Our answer on the minimum pitch for a flat rooflight explains why the two are different. When you are ready to see how the light would fall in your own room, book a light survey.